Wire wrapping is a technique used to secure stones or other objects in jewelry designs. It can be used to create a wide variety of looks, from delicate and ethereal to bold and statement-making. In this guide, we’ll show you some of the most popular wire wrapping techniques used for jewelry stones.
How to Wire Wrap Jewelry Stones
If you’re new to wire wrapping, you might be wondering what tools you need to get started. The good news is that you don’t need many tools to create beautiful wire wrapped jewelry. In fact, all you really need is a pair of round nose pliers and a pair of wire cutters.

With just these two tools, you can create a variety of different wire wrapping techniques.
The Basic Wire Wrap
The basic wire wrap is one of the most essential wire wrapping techniques for jewelry stones. It’s also one of the quickest and easiest ways to finish off a beaded design. Although it may seem like a very simple method, when done correctly, the basic wire wrap can provide a secure, professional-looking finish to your jewelry.
To start, cut a piece of wrapping wire that is about two inches longer than the stone or beads you are going to wrap. If you are using multiple stones in your design, make sure to leave enough space between each stone so that you can wrap around each one individually. Next, thread the wire through the bead or stone and make a small loop at the end. Pinch the loop closed with your fingers and hold it in place.
Now take the long end of the wire and wrap it around the “neck” of the bead or stone, making sure to cross over the top of the loop you just made. Wrap tightly until you have used up all of the wire or until you reach the desired look. Make sure to tuck in any sharp ends of wire so that they don’t poke through and scratch your skin.
To finish off, cut any excess wire off with a pair of jewelry pliers or wire cutters. You can then use this technique to add more beads or stones to your design, connecting them all together with basic wire wraps.
The Wire Wrap With Bead
One of the most versatile and commonly used wire wrapping techniques is the wire wrap with bead. This technique can be used to create a variety of different jewelry designs, from dangle earrings to simple pendants. The wire wrap with bead is also a great way to add some extra stability to fragile stones, like opals. Follow the steps below to learn how to wire wrap a stone using this popular technique.
1. Begin by threading a bead onto your wire. The size and type of bead you use will depend on the design you’re creating, so choose something that compliments your stone.
2. Center the bead over the stone, then make a loop in the wire around the bead.
3. Cross the long end of the wire over the short end, then make another loop around the bead.
4. Continue wrapping the wire around the bead until it is secure, then trim off any excess wire.
5. Optional: You can finish off your design by making a bail (a loop of wire at the top of the pendant), or by attaching jump rings so it can be worn as a dangle earring.
The Wire Wrap With Bead and Coil
This is a basic wire wrap that can be used for almost any stone, large or small. Start with a comfortable length of wire; you can always trim it later. You will need about 6 inches for small stones, and up to 12 inches for large stones. Make a small loop at one end of the wire, leaving a tail of about 1/2 inch. String the stone onto the wire, then make another loop above the stone. The two loops should be about 1/4 inch apart.

Now you will start to coil the wire around the body of the stone. Wrap tightly, going back and forth until you reach the bottom loop. Make sure that your coils are close together; you don’t want big gaps between them. When you reach the bottom loop, carefully tuck the end of the wire into it. give it a little tug to make sure that it’s secure, then trim off any excess wire.
The Wire Wrap With Bead and Coil and Stone
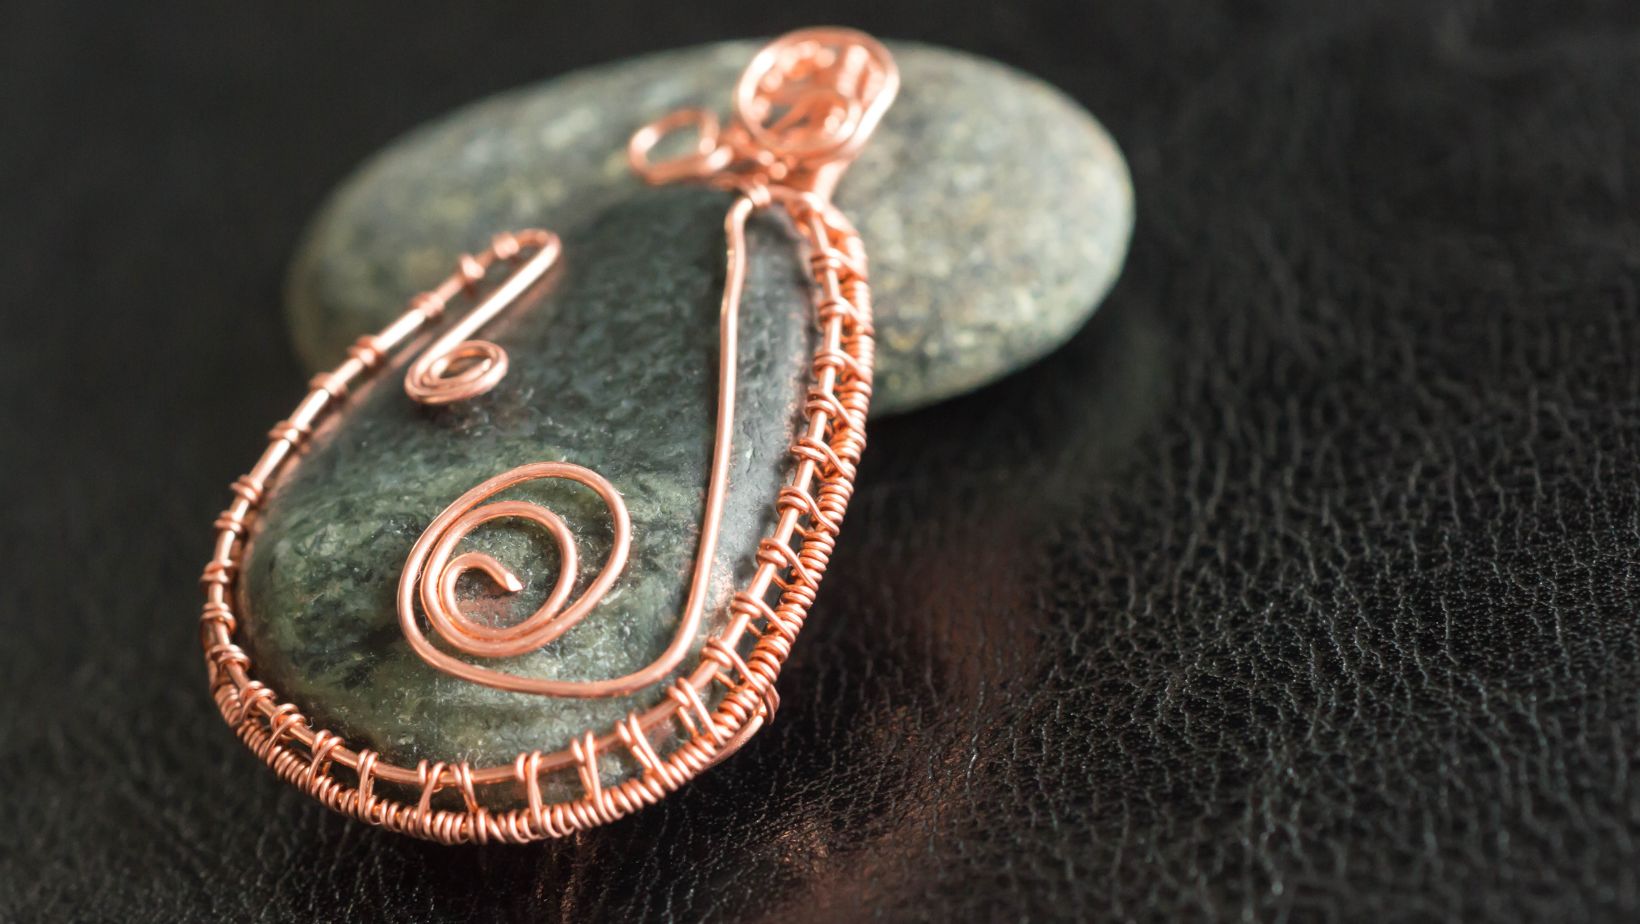
Wire wrapping is one of the oldest and most popular techniques for making jewelry with stones. It’s a very versatile technique that can be used to create a wide variety of looks, from delicate and airy to bold and dramatic. In this tutorial, we’ll show you a wire wrapping technique that combines a bead, coil and stone to create a stunning pendant.
This wire wrapping technique is great for beginners because it uses just a few basic techniques that are easy to master. Once you’ve learned the basics, you can experiment with different stones, wires and beads to create your own unique jewelry designs.
The Wire Wrap With Bead and Stone
The wire wrap with bead and stone is a great way to add interest and dimension to your jewelry designs. This technique can be used with any type of beads, but is especially effective with gemstone beads. To wire wrap a bead or stone, you will need the following supplies:
-Wire (24 gauge or 26 gauge)
-Wire cutters
-Round nose pliers
-Beads or stones
-Jewelry glue (optional)
Instructions:
1. Cut a piece of wire approximately 18 inches long. You may need to adjust the length depending on the size of your bead or stone.
2. String your bead or stone onto the wire.
3. Make a loop at the end of the wire using your round nose pliers.
4. Wrap the tail end of the wire around the base of the loop 5-6 times. Trim any excess wire.
5. If desired, add a drop of jewelry glue to the wrapped portion for extra security.
The Wire Wrap With Bead and Stone and Coil
The wire wrap with bead and stone is a classic wire wrapping technique that is used to add both security and decoration to a piece of jewelry. This technique can be used with any type of beads, stones or charms, and is a great way to add a personal touch to your jewelry.
To start, you will need a piece of wire (preferably sterling silver or gold-filled), a bead or stone, and a pair of pliers. You will also need round-nose pliers for this project, but if you don’t have one, you can use a regular pair of pliers.
Start by threading your bead or stone onto the wire. Then, make a loop at the end of the wire using your round-nose pliers. Once you have made the loop, thread the wire back through the bead so that the bead is now resting against the loop.
Next, use your regular pliers to make a small coil at the end of the wire. This coil will act as a stopper for your bead, so make sure that it is big enough that the bead cannot slip off.
Finally, use your round-nose pliers to make another loop at the end of the wire. This second loop will be used to connect the necklace chain or bracelet clasp.
Your necklace or bracelet is now complete! If you want to learn more about wire wrapping techniques, check out our other blog post: “Wire Wrapping Techniques for Jewelry Making”